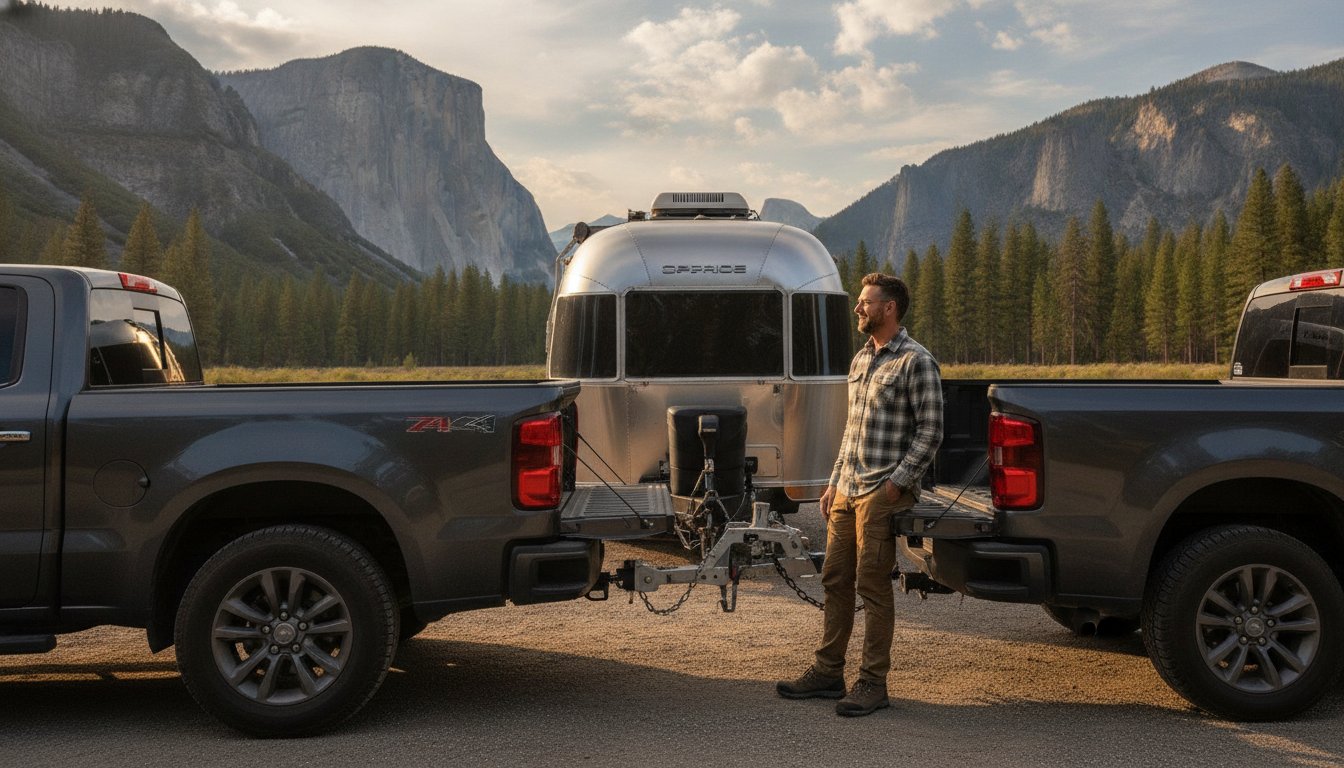
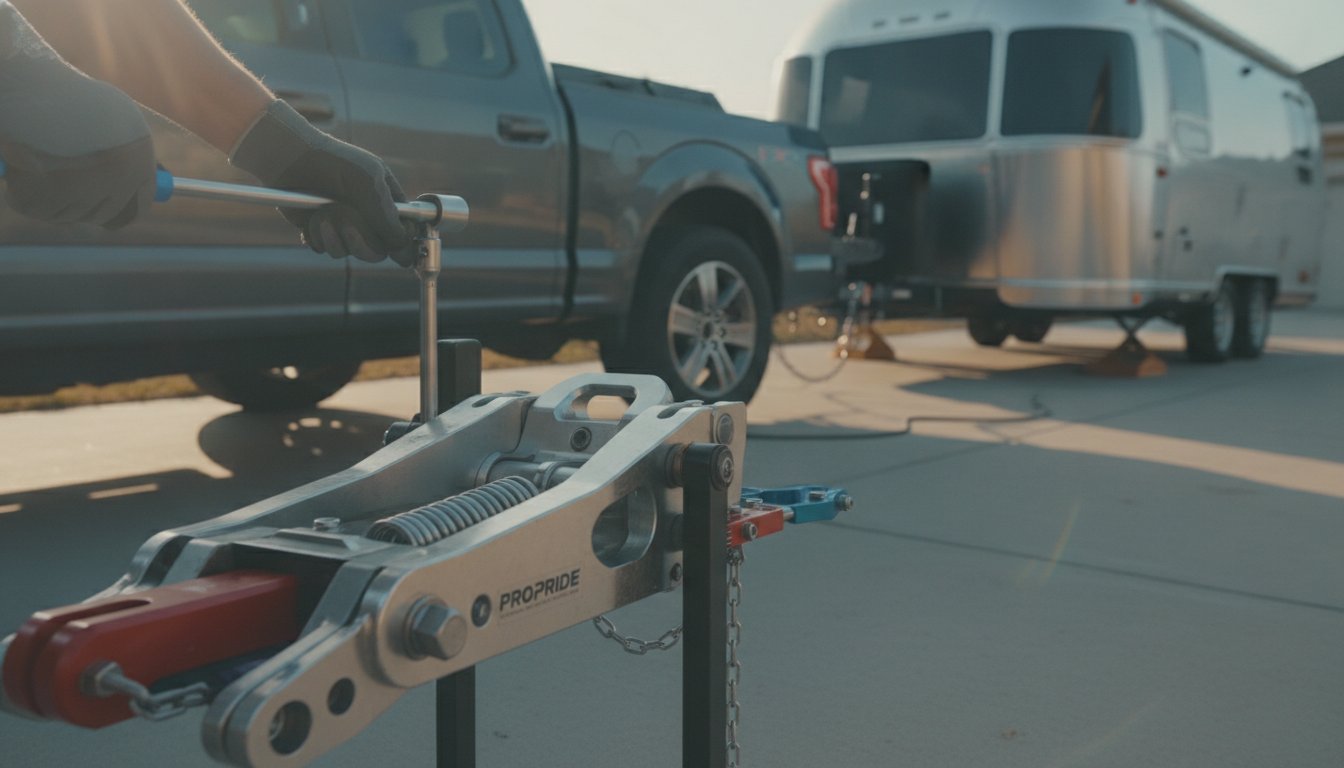
Did you know that over 90% of ProPride owners successfully complete their own propride hitch installation? It's a statistic that might surprise you if you've spent hours worrying about mechanical complexity. We understand that responsibility feels heavy when your family's safety is on the line. You want the best protection against trailer sway, but the thought of a complex assembly can feel daunting. It's normal to feel some anxiety before you pick up a wrench; however, you've already made the right choice by choosing The Best Hitch on the Planet, a system rooted in the Jim Hensley design legacy.
This guide transforms that uncertainty into the quiet confidence of a master engineer. We'll walk you through the step-by-step process of setting up your ProPride 3P® Hitch, ensuring you master everything from mounting the v2 Jack assemblies to fine-tuning weight distribution. By following these instructions, you aren't just bolting metal together; you're upholding The Responsible Towing Standard. We'll cover essential tools, the physics of our patented Pivot Point Projection, and the exact adjustments required for a stable ride. You'll gain the knowledge to eliminate sway entirely and enjoy the peace of mind that comes with a job done right.
Key Takeaways
- Discover how mechanical precision sets The Responsible Towing Standard, ensuring your equipment works with the laws of physics to protect your family.
- Identify the essential tools and pre-installation steps required to complete a successful propride hitch installation in your own driveway.
- Learn the step-by-step process for mounting the main unit and adjusting the hitch bar to achieve a perfectly level towing setup.
- Master weight distribution techniques using the "tape measure test" to verify that your trailer is stable and sway-free.
- Understand how to perform a safety verification during your first test drive and when to leverage our national network of professional installers.
Why Proper Installation Defines The Responsible Towing Standard
Mechanical precision is the foundation of road safety. When you're hauling a heavy trailer, you aren't just driving; you're managing a complex system of physics. A proper propride hitch installation ensures that these physical laws work for you instead of against you. Traditional equipment often relies on friction to "dampen" sway after it has already started. This is a reactive and often insufficient approach that leaves too much to chance. In contrast, the ProPride 3P® Hitch uses a proactive mechanical linkage to project the pivot point forward, effectively eliminating the possibility of sway before it can begin. We call this Pivot Point Projection, and it is the core of our safety system.
The Philosophy of Precision Towing
Choosing the right equipment is only half the battle. True safety comes from understanding how that equipment integrates with your vehicle and trailer. Many owners settle for "good enough" setups, but on a windy highway or during a sudden lane change, "good enough" often fails the test. By taking the time to educate yourself on the installation process, you transition from being a simple parts buyer to a responsible tower. This transition builds a level of confidence that can't be bought; it's earned through preparation and knowledge. Our system is a sophisticated weight-distributing hitch that relies on the Jim Hensley design legacy to keep your family and your investment secure. When you understand the mechanics, you gain total control over your towing experience.
What to Expect During the 2-Hour Install
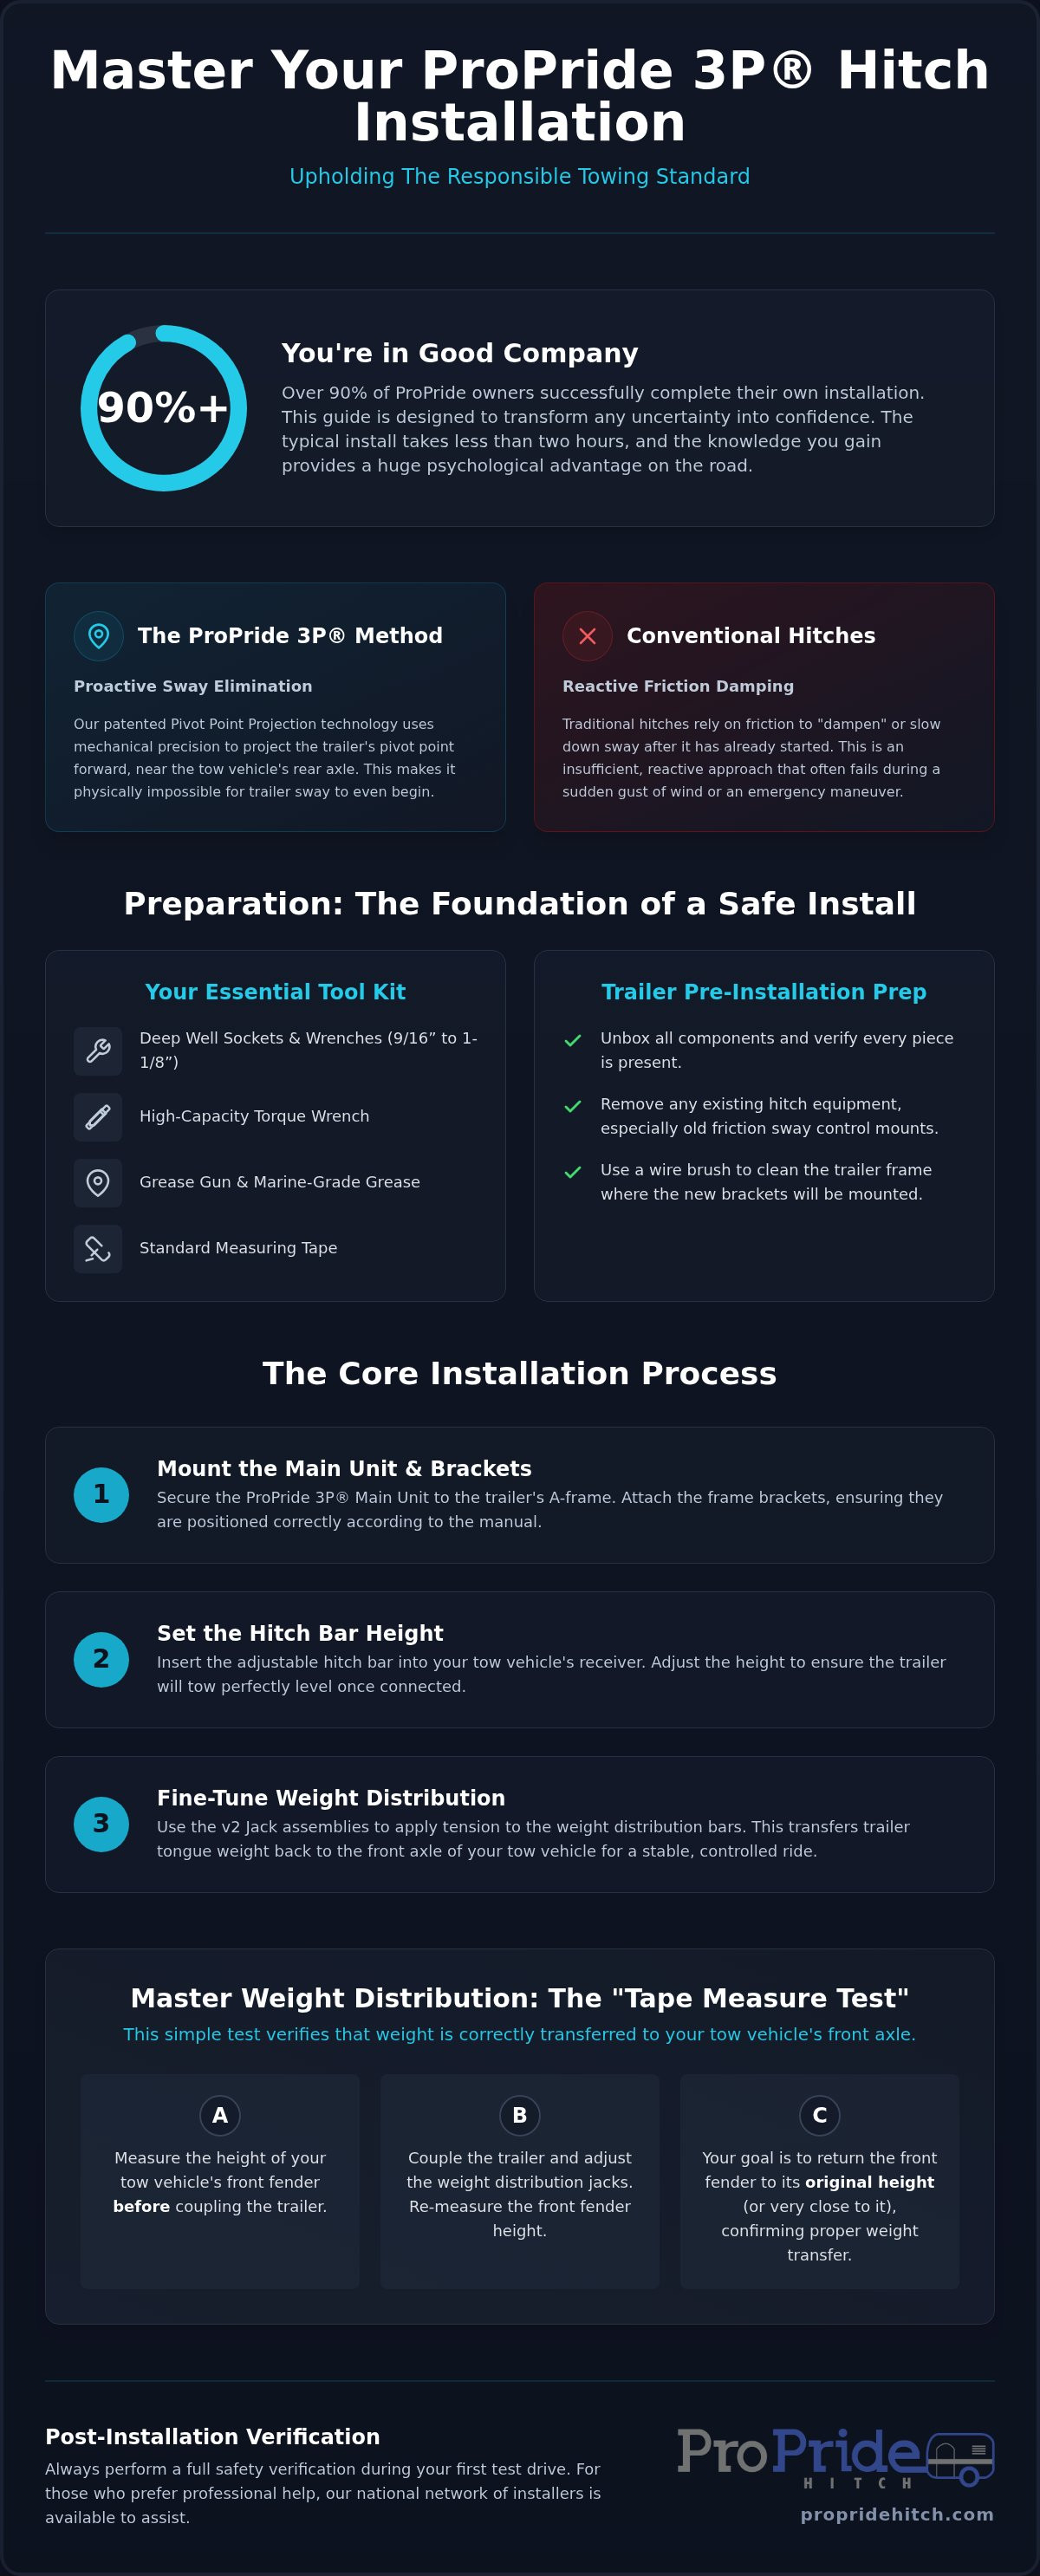
You don't need to be a professional mechanic to achieve a perfect setup. In fact, over 90% of our customers successfully choose the DIY path for their trailers. A standard propride hitch installation typically takes less than two hours. The 3P system is modular, meaning you'll assemble it in logical stages that make sense even if you aren't used to working with complex machinery. Knowing exactly how your hitch works provides a significant psychological advantage on the road. You'll understand how the v2 Jack assemblies transfer weight to the front axle and how the heavy-duty links maintain stability. While we offer a national Install Network for those who prefer professional help, most owners find the process straightforward and deeply rewarding. Taking ownership of the assembly is the first step in upholding The Responsible Towing Standard, ensuring every component is tuned for peak performance before you ever hit the highway.
Preparation: Tools and Components for the ProPride 3P Hitch
The Essential Tool Kit
You don't need a professional shop to install the best hitch on the planet, but you do need the right tools. Your kit should include a set of deep well sockets and wrenches ranging from 9/16” to 1-1/8”. Specifically, you'll use the 9/16” and 3/4” sizes for the frame brackets and the 15/16” and 1-1/8” sizes for the larger structural bolts. The most critical tool in your arsenal is a high-capacity torque wrench. Because our system manages the intense physics of trailer sway, every bolt must be tightened to exact specifications to prevent movement under load. While not strictly required for assembly, a grease gun and a standard measuring tape will be invaluable for the final lubrication and the weight distribution adjustments that follow.
Pre-Installation Trailer Prep
A successful propride hitch installation begins with a clean slate. You'll need to remove any existing hitch equipment, especially old friction-based sway control mounts that are no longer necessary. Use a wire brush to clean the trailer frame where the new brackets will sit. Achieving a secure metal-to-metal bond is vital for the stability of the entire system. You may need to temporarily move your propane tanks or battery boxes to gain clear access to the frame. This is also the time to verify your trailer's coupler type. Ensuring the yoke is perfectly aligned with your specific frame configuration is a key step in upholding The Responsible Towing Standard. If you've confirmed your measurements and have your tools ready, you're prepared to move into the assembly phase. You can always double-check your component list at propridehitch.com to ensure you have everything needed for your specific trailer model.
Step-by-Step Guide to ProPride Hitch Installation
Your propride hitch installation moves from preparation to action once you begin the assembly. Following these steps carefully is how you uphold The Responsible Towing Standard for your family's safety. While the process is logical, it requires attention to detail to ensure every component of the Jim Hensley design performs as intended. Because the system weighs approximately 195 lbs, we recommend using your trailer's tongue jack to help manage the weight during the mounting process. Taking it slow ensures you get the setup right the first time, providing the stability you need for the road ahead.
Setting the Adjustable Hitch Bar
The first step is configuring the hitch bar to match your specific vehicle and trailer combination. You'll need to measure the distance from the ground to the top of your vehicle's receiver and the top of the trailer's coupler while both are on level ground. The goal is to keep the trailer level during transit. You'll also set the tilt of the hitch head at this stage. Tilting the head toward the trailer increases the leverage of the spring bars, which is essential for effective weight distribution. The 2026 hitch bar offset is a fixed geometric measurement that ensures the main unit sits at the ideal distance from your bumper for maximum turning clearance. Once you've determined the correct rise or drop, secure the bolts with your torque wrench to the specified 200 ft-lbs.
Mounting the Main Unit and Jacks
Once the hitch bar is set, you'll mount the ProPride 3P® Hitch main unit onto the trailer's coupler. Lower the coupler onto the hitch ball and lock it securely. Now, you'll install the v2 Jack assemblies on the trailer's A-frame. It's vital to position these jacks so they are perfectly vertical. If they're tilted, the weight distribution links won't move freely, which can impact the system's performance. Bolt the frame brackets securely; however, don't do the final tightening until you've verified their alignment with the main unit's spring bar receivers. This alignment ensures the ProPride 3P® Hitch operates with the mechanical precision it was designed for.
Securing the Yoke and Spring Bars
The yoke is the component that truly differentiates this system from traditional equipment. It prevents the hitch ball from pivoting, which is the fundamental key to Pivot Point Projection. Align the yoke so it's centered on the trailer frame and secure it according to the instructions. Next, slide the spring bars into the main unit. Be sure to apply a generous amount of marine-grade grease to the bushings before insertion. Connect the bars to the v2 Jack assemblies using the heavy-duty links. You can now use the jacks to apply initial tension. This isn't your final weight distribution setting, but it provides the stability needed for your first test fit and measurement. You're now one step closer to experiencing the best hitch on the planet.
Fine-Tuning Weight Distribution and Sway Elimination
Mechanical calibration is the final step in achieving The Responsible Towing Standard. During your propride hitch installation, you move from assembly to the science of weight transfer. The v2 Jack assemblies aren't just for show; they're the primary tools for shifting tongue weight forward to your vehicle's steering axle. This shift is vital. Without it, your front tires lose the grip necessary for safe steering and braking. You're looking for the 'sweet spot' where your rig feels like a single, unbreakable unit on the highway. Achieving this balance is what separates a stressful drive from a confident journey.
The Science of Proper Weight Transfer
To get this right, you'll perform the "tape measure test." First, measure the distance from the ground to the top of your tow vehicle's front and rear wheel wells while uncoupled. Once you've completed the propride hitch installation and coupled the trailer, notice how the front end rises. Use the jacks to tension the spring bars until that front measurement returns as close as possible to the original uncoupled height. Over-tensioning can lift the rear of the truck too much, which reduces traction. Conversely, under-tensioning leaves the front end light and prone to wandering. Finding the middle ground is essential for total weight distribution and sway control, ensuring your steering remains crisp and responsive.
Verifying Pivot Point Projection
The ProPride 3P® Hitch works by projecting the pivot point forward toward the rear axle of the truck. You can visually verify this during the final calibration stages. When properly set, the hitch should look like a solid, parallel extension of your truck's frame. Check for clearance during tight turns and while backing up to ensure the yoke and main unit move freely without hitting the trailer frame. The tilt of the adjustable hitch bar you set earlier plays a major role here. If you find you can't get enough weight transfer even with the jacks fully extended, you may need to increase the rearward tilt of the hitch head. This adjustment changes the geometry of the spring bars, allowing for more leverage.
Remember to re-check your measurements whenever you significantly change your load, such as filling fresh water tanks or adding heavy gear to the trailer. Precision is a habit, not a one-time event. If you're ready to experience the ultimate in towing stability, you can purchase the ProPride 3P® Hitch and start your journey toward a safer, sway-free lifestyle today.
Post-Installation: Verification and The Install Network
Completing the physical propride hitch installation is a significant achievement, but the process doesn't end when you put the tools away. Verification is the final pillar of The Responsible Towing Standard. You need to ensure that the mechanical precision you've built into the system translates to absolute stability on the highway. This phase involves a methodical test drive, a secondary safety check of all fasteners, and an honest assessment of whether you need a professional second set of eyes. Safety isn't a one-time event; it's a continuous commitment to excellence.
The Test Drive Checklist
During your first outing, pay close attention to how the rig handles. You should experience a total elimination of trailer sway, even when passing large trucks or facing crosswinds. It's normal to hear some "hitch noise," which is typically a metallic clunking sound when the weight distribution links shift under load. This is a sign that the mechanical linkage is doing its job. However, the ride should never feel jarring or unpredictable. After your first 50 to 100 miles of travel, you must re-torque all bolts. The vibrations of the road can cause components to settle, and maintaining the specified torque is essential for long-term safety. If the handling doesn't feel perfectly dialed in, consult our ProPride 3P troubleshooting tips to fine-tune your specific configuration.
Accessing Professional Help
While 90% of our customers successfully complete their own propride hitch installation, we recognize that every trailer frame is unique. Some A-frames have battery boxes, V-nose designs, or propane supports that create unexpected mechanical obstacles. If you're unsure about your yoke alignment or jack placement, the ProPride 3P® Hitch Install Network is your safety net. We have a national network of independent, certified installers who understand the Jim Hensley design legacy and can provide a professional verification of your work. Having a specialist review your setup provides an extra layer of reassurance for the high-end consumer. You can find more details about our support resources on the ProPride 3P Trailer Sway Control Hitch product page.
Long-term reliability depends on consistent maintenance. You should apply marine-grade grease to the main unit's Zerk fittings—the small metal nipples designed for a grease gun—every 1,000 miles or at the start of every season. This protects the internal bearings and ensures the Pivot Point Projection remains fluid and responsive. By staying diligent with your maintenance and verification, you join a community of responsible towers who refuse to compromise. You've invested in the best hitch on the planet; taking care of it ensures it protects your family and your investment for a lifetime.
Take Command of Your Towing Experience
Mastering your propride hitch installation is the definitive step toward ensuring your family’s safety on the open road. By choosing to educate yourself on the mechanical nuances of the Jim Hensley design legacy, you've moved beyond standard equipment to embrace the ultimate engineering solution. You now understand that stability isn't a matter of luck; it’s a result of patented Pivot Point Projection technology and precise weight distribution. Whether you joined the 90% of owners who succeed with a DIY setup or utilized our Nationwide Install Network, you’ve established a new baseline for road performance.
Remember to stay diligent with your maintenance by checking bolt torque after your first trip and applying fresh grease every 1,000 miles. This commitment to precision is what separates a casual traveler from a leader in safety. You've done the research and the hard work; now it’s time to enjoy the stress-free travel you deserve. If you’re ready to finalize your setup or help a fellow traveler find the same peace of mind, you can Upgrade to The Responsible Towing Standard with the ProPride 3P® Hitch today. Safe travels and welcome to the community of responsible towers.
Frequently Asked Questions
Can I install the ProPride 3P hitch by myself?
Yes, you can certainly complete the propride hitch installation on your own. Over 90% of our customers choose the DIY path and succeed because the system is designed with a logical, modular assembly. It's built for the informed owner who prioritizes safety and precision. By taking the time to understand the Jim Hensley design legacy, you ensure your equipment is set up to uphold The Responsible Towing Standard for your family's protection.
How long does the ProPride hitch installation typically take?
A standard installation typically takes less than two hours to complete for most travel trailers. This timeline assumes you've gathered your tools and prepared the trailer tongue in advance. While the ProPride 3P® Hitch is a sophisticated piece of engineering, the assembly steps are straightforward and manageable. Most owners find that the process moves quickly once the main unit is mounted and the v2 Jack assemblies are positioned correctly on the A-frame.
Do I need to drill into my trailer frame for the installation?
No drilling is required for a standard installation on the vast majority of trailer frames. The ProPride 3P® Hitch utilizes a secure bolt-on design for the frame brackets and weight distribution jacks. This ensures a solid metal-to-metal bond without compromising the structural integrity of your trailer's A-frame. It's a cleaner, more professional approach that aligns with our commitment to engineering excellence and long-term durability during your travels on the open road.
What tools are absolutely necessary for a ProPride 3P install?
You'll need a high-capacity torque wrench capable of reaching 200 ft-lbs and a set of deep well sockets ranging from 9/16” to 1-1/8”. A measuring tape is essential for the "tape measure test" to verify weight distribution. You also need a grease gun loaded with marine-grade grease to lubricate the Jim Hensley design bushings. These specific tools allow you to achieve the mechanical precision required for a safe, sway-free towing experience.
How do I know if my weight distribution jacks are set correctly?
You'll know the jacks are set correctly when your tow vehicle's front fender height returns as close as possible to its original, uncoupled measurement. This verification ensures that you've restored the necessary weight to the steering axle for safe handling. Proper tensioning of the v2 Jack assemblies is the key to activating the Pivot Point Projection technology, effectively turning your truck and trailer into a single, stable unit that resists external forces.
Can I use the ProPride 3P hitch with an Airstream or Jayco trailer?
Yes, the ProPride 3P® Hitch is compatible with a wide range of trailers, including Airstream and Jayco models. Our adjustable hitch bar and modular frame brackets are designed to accommodate various coupler styles and frame heights. Because it eliminates sway through mechanical linkage rather than friction, it's the ideal choice for protecting high-end investments. Always verify your specific frame clearance to ensure a perfect fit during your propride hitch installation process.
What happens if I have trouble during the installation process?
If you encounter unique frame obstacles or feel uncertain about a step, we provide comprehensive support. While 90% of owners succeed solo, you can access the ProPride 3P® Hitch Install Network for professional reinforcement. This national network of certified installers offers a "second set of eyes" to ensure your setup meets The Responsible Towing Standard. We're committed to your success and won't leave you stranded during any part of the assembly process.
Does the ProPride 3P hitch require regular maintenance after installation?
Yes, regular maintenance is vital for maintaining peak performance and safety. You should apply marine-grade grease to the Zerk fittings every 1,000 miles to protect the internal bearings. It's also important to perform a quick torque check on all mounting bolts after your first 100 miles of travel. These simple, responsible steps ensure the Pivot Point Projection system remains responsive and continues to provide the ultimate sway-free towing experience for years to come.