
Proper tension isn’t a matter of tightening the chains as much as possible. The practical answer to how to properly tension weight distribution bars is to follow the hitch maker’s setup instructions, keep the chain links matched on both sides, and use before-and-after measurements to judge weight transfer. The goal is a balanced tow vehicle and trailer, not maximum bar force.
Spring bars redistribute load, but they don’t automatically control trailer sway. This guide explains how to attach and tension the bars, adjust chain links, check wheel-well measurements, and treat sway control as a separate part of the setup. It also covers what to watch for if the vehicle sits unevenly or the trailer’s loaded weight changes, so you can adjust methodically and tow with greater confidence.
Key Takeaways
- Set up the tow vehicle and trailer as they’ll be loaded for travel, then follow the hitch maker’s instructions for adjustment.
- Keep the spring-bar chains at matching link settings, and change them methodically to assess how the setup sits.
- Compare wheel-well measurements before and after coupling to evaluate weight transfer and guide adjustments.
- Treat weight distribution and sway control as separate considerations; spring-bar tension alone isn’t a substitute for sway control.
- If sway control is a central concern, explore how the ProPride 3P Hitch uses patented Pivot Point Projection technology.
Checking and adjusting weight distribution
Weight distribution hitch instructions vary by brand and model, particularly for head angle, spacer placement, and chain adjustment. Spring bars act as levers, transferring some tongue load toward the tow vehicle’s front axle. Whether they’re required or restricted depends on applicable state rules and vehicle and trailer manufacturer instructions. Use them within the vehicle and trailer’s capacity, and follow the hitch’s specific manual.
Adjust the Spring-Bar Angle
- Measure the trailer coupler height on level pavement, then compare it with the hitch ball height before coupling. One setup example uses a 17-inch coupler and an 18½-inch target ball height. Another general setup guideline positions the ball one to three inches above the coupler; your hitch manual determines which adjustment applies. After coupling, assess the vehicle and trailer together, not the ball height alone.
- Adjust the spring-bar angle using the hardware provided for your weight distribution hitch. Some setups use rivet and spacer washers in a ½-inch hole between the U-shaped ball-mount parts. Make changes according to that hitch’s instructions, then check the bars’ position after tension is applied. The bars should sit parallel to the trailer frame in the described setup; don’t assume another model uses identical parts or geometry.
Adjust Spring-Bar Tension
- Load the vehicle and trailer as they’ll travel, set tire pressure correctly, and park on level ground. Measure each vehicle wheel well before coupling, then remeasure after coupling and applying spring-bar tension. The bars transfer some tongue load toward the vehicle’s front axle. This process helps restore balance; it doesn’t reduce trailer weight or increase towing capacity.
- Adjust tension in small, controlled increments, using the manufacturer’s procedure rather than a guessed force target. The appropriate setting depends on the vehicle, trailer, and load. A travel trailer’s tongue weight is commonly described as 10-15% of gross trailer weight, but that range doesn’t replace the hitch maker’s sizing and adjustment instructions. Check that the trailer remains level and that the tow vehicle’s stance is balanced.
Adjust the Link Position
- Set both chains to the same number of links between the spring bars and hookup brackets. The setup guidance calls for at least five links between each bracket and bar. If the brackets are difficult to engage, raise the coupled trailer with the tongue jack to reduce the load during hookup, following the hitch manual’s sequence. Keep hands clear of loaded bars and bracket movement.
- Change the chain setting one link at a time, then compare the vehicle and trailer stance on level ground. Use as many links as the hitch instructions allow while achieving the required weight transfer; don’t copy another owner’s link count. Recheck wheel-well measurements after each adjustment. If the trailer sits unevenly or the measurements move the wrong way, revisit the head angle and tension settings.
How chain tension affects weight distribution
Chain position affects the force applied by the spring bars, so adjust both sides evenly. Before handling a loaded bar, follow the hitch manual’s release and hookup sequence, and keep clear of moving brackets and chains.
Choose Chain Links for the Load
- Set the chain position with the vehicle and trailer loaded as they’ll travel. Cargo placement changes tongue weight, which affects the force the spring bars need to transfer. If your load changes between trips, repeat the setup checks instead of assuming the previous link setting still fits.
- Use the same number of links on both sides, then assess how the vehicle and trailer sit together. A heavier load may call for a different adjustment, but there’s no universal link count for every hitch. Let the setup manual and measured results guide the setting.
- Change one link at a time when comparing settings. A one-link adjustment can alter bar tension and the amount of load transferred. Note the starting position, make one change, then compare the vehicle and trailer stance on level ground before adjusting again.
Set the Spring-Bar Chain Links
- Position each chain so the spring bars remain parallel with the trailer frame after tension is applied. Unequal link counts can create uneven loading across the hitch. Check the left and right sides before lowering the tongue jack or moving the vehicle.
- Raise the coupled trailer with its tongue jack if the hitch manual calls for it during hookup. Raising the connection can reduce the load on the bars while you place the chains. Keep hands clear of the bracket and loaded spring-bar path as you work.
- Secure each chain to its hookup bracket using the hitch maker’s prescribed method. Don’t use a chain link or bracket position that conflicts with the manual, even if it appears to make engagement easier. Confirm both sides are seated before lowering the jack.
- Keep safety chains distinct from spring-bar chains. Connect the safety chains using the vehicle and trailer connection points and routing specified by their instructions; they don’t set spring-bar tension. Before towing, check that both the safety-chain connections and hitch brackets are secured.
Check minimum chain engagement while assessing tension: weight distribution hitch spring bar chains must have at least five chain links between the bracket and the spring bar. If the setting you need leaves fewer links in that span, don’t use it. Consult the hitch instructions and reassess the setup. Available chain length can limit practical tension settings, so check the connection before assessing the vehicle and trailer stance.
A forum participant suggests trying a chain position one link tighter or looser and comparing how the towing vehicle and trailer ride. Make one controlled adjustment, then compare under the same loaded conditions. Adding chain links may require raising the trailer higher with the jack. Follow the hitch maker’s hookup procedure and keep clear of loaded bars and brackets. Once the chains are secured, lower the jack as directed and check the combined stance again. Judge the change by the overall setup, not link count alone.
Attaching and tensioning spring bars
Follow the weight distribution hitch manufacturer’s manual for the exact attachment sequence. Spring bars store force under load, so carry out each step carefully.
Check Spring-Bar Weight Ratings
- Match the spring-bar rating to the loaded tongue weight and gross trailer weight. Both figures matter because the bars must suit the complete towing setup, not just the trailer’s empty weight. A changed cargo load can change tongue weight, so reassess the setup when the load changes.
- Check the bar rating before installation. Bars rated too high can make the ride stiffer; bars rated too low may not distribute weight properly and can induce sway. Don’t choose a rating by appearance or by copying another trailer’s setup. Use the rating guidance for your hitch model and the actual loaded weights.
Install the Spring Bars
- Read the hitch manual, then couple the loaded trailer to the tow vehicle on a level surface. Raise the coupling point about three inches above level with the trailer jack before attaching the chains, as the setup instructions describe. This reduces the load on the bars during hookup.
- Seat each spring bar and connect its chain using the hitch maker’s sequence. Check that both bars and chains engage their intended brackets before lowering the jack. If the tow vehicle has automatic leveling, let it operate normally, except while connecting the sway bars.
- Lower the jack gradually so the trailer’s weight loads the bars. Check their position and the chain connections once the jack is clear. Tighten hardware to the torque values in the hitch instructions, and check the set screw after the first day of towing.
Release Spring-Bar Tension
- Before disconnecting loaded bars, use the tongue jack to raise the front of the trailer and rear of the tow vehicle approximately three inches above level. This relieves pressure on the bars and chains. Follow the hitch manual’s release sequence, and keep clear of the bar and bracket path as tension changes.
- Remove the chain or bar connection only after the load has eased. Don’t force a bracket or pull against a bar that remains under tension. If the connection will not release as described, stop and review the manufacturer’s procedure before continuing.
- After release, inspect the bars, chains, brackets, and fasteners for unusual wear or damage. Reattach using the same manual-directed sequence before towing again. Correct torque and secure connections matter each time the hitch is assembled.
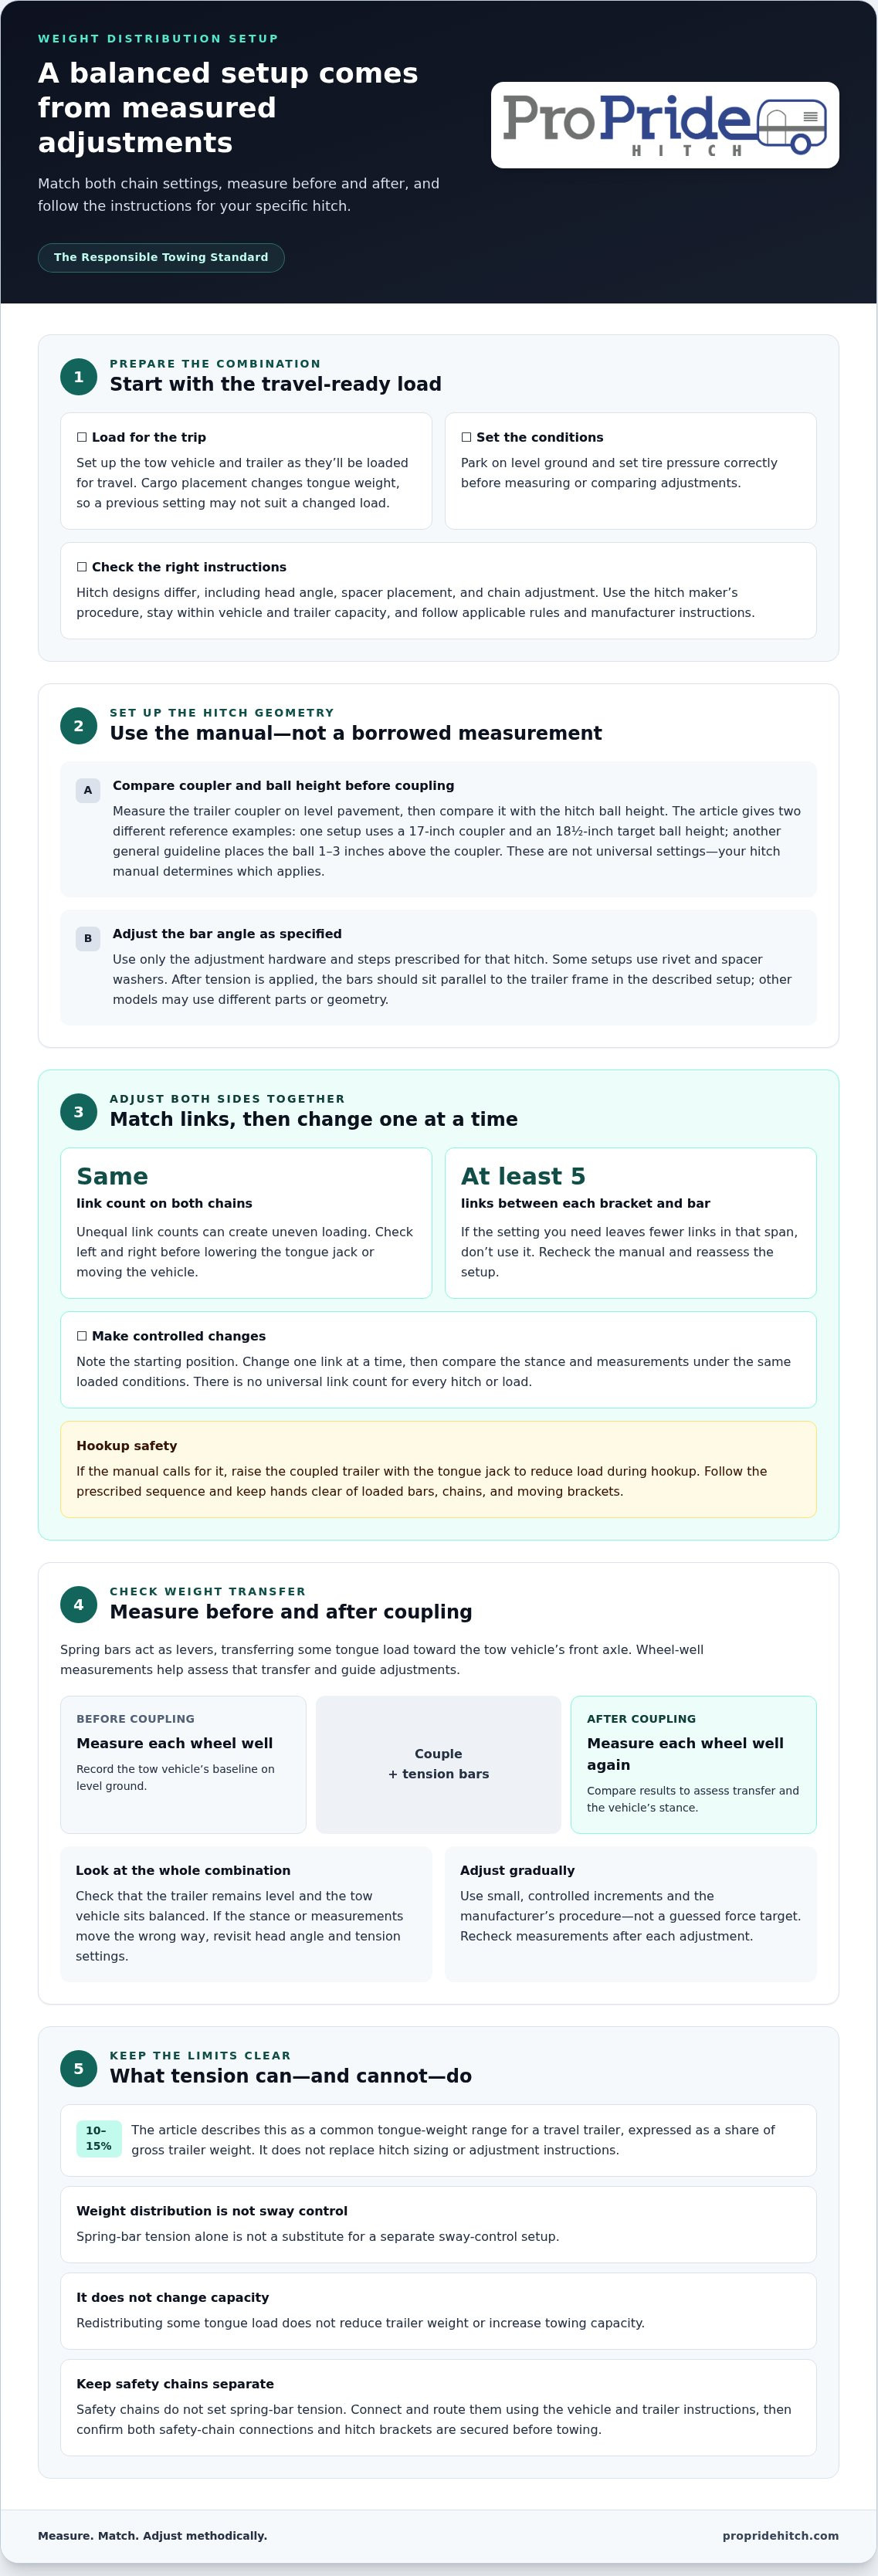
Measuring front-end rise and weight transfer
Assess the loaded towing setup with measurements, not appearance alone. A consistent process shows how spring-bar adjustments affect the tow vehicle.
- Measure the loaded tongue weight. Load the trailer and vehicle as they’ll travel, then determine the trailer’s gross loaded weight and tongue weight using suitable weighing equipment. Tongue weight is the downward load the coupler places on the hitch. A common travel-trailer guideline puts tongue weight at 10-15% of gross trailer weight. Keep the figures together because cargo changes can alter the tongue load and the spring bars’ work.
- Record the vehicle’s starting measurements. Park the loaded tow vehicle on level ground and measure from the ground to each wheel well, front and rear. Use the same points and method for every reading. Record the distance before coupling, then measure again after coupling without spring-bar tension. These readings show how the trailer’s tongue load changes the vehicle’s stance.
- Compare the readings after tensioning. Apply the spring bars, settle the vehicle and trailer, then remeasure both wheel wells. This compares the amount of front-end rise before and after weight distribution. In this setup guidance, the front and rear wheel wells measure the same height when the system is properly adjusted. Use your hitch maker’s instructions alongside those measurements.
- Read uneven measurements as adjustment clues. If the front wheel well sits higher than the rear after hitching, the system may not have enough tension. A higher rear wheel-well reading can be a sign that the setup needs adjustment. Adjust chain links or tension only according to the hitch manual, then repeat the same measurements. A changed reading gives you a concrete comparison, not a reason to guess.
- Check against the original position. After adjustment, compare front and rear bumper measurements with their original readings. The setup guidance places each within ½ inch of its original measurement. Another approach reduces front-end rise to between the unloaded measurement and halfway between that reading and the coupled measurement without bars. Apply the method specified for your hitch, and keep the vehicle and trailer on level ground.
- Repeat after a load change. Moving cargo can change tongue weight, so recheck measurements when the travel load changes. Keep a record of the loaded weight, wheel-well distances, and chain-link settings. That record helps identify which adjustment changed weight transfer, rather than relying on memory or the trailer’s visual level alone.
Sway-control considerations
Weight distribution and sway control address related but distinct aspects of towing stability. Treating spring-bar tension as a cure for trailer sway may leave the cause unaddressed.
- Identify the motion before adjusting. Trailer sway is side-to-side movement; pitching is movement between the tow vehicle and trailer. Note which motion occurs and under what conditions. A spring bar redistributes load through the hitch, but its tension setting alone doesn’t identify why the trailer is moving sideways.
- Keep weight distribution and sway control distinct. Set spring-bar tension to transfer weight as the hitch instructions specify. Treat sway control as a separate part of the towing setup, with its own operating and adjustment instructions. Don’t tighten chains beyond the recommended setting to compensate for sway, because that changes weight transfer rather than addressing every sway-control factor.
- Check the load and towing connections. Confirm cargo is secured and distributed as intended, then inspect the coupler, hitch connections, and safety chains. Changes in trailer loading can alter tongue weight and how the vehicle and trailer respond. A loose or incorrectly connected component needs attention before another adjustment or trip.
- Review the vehicle and trailer limits. Compare the loaded combination with the tow vehicle’s capacity and the trailer’s rated limits. A weight-distribution hitch doesn’t reduce trailer weight or increase how much the vehicle can tow. Staying within the applicable ratings is separate from setting the spring bars or sway control.
- Follow the exact equipment instructions. Read the weight-distribution hitch and sway-control instructions together, since components can have different attachment and adjustment procedures. Check how the sway-control equipment connects near the hitch or coupler, and whether the instructions call for a particular sequence. Don’t assume one system’s setup applies to another model.
- Reassess after changing the setup. If you adjust chain links, change the load, or alter the hitch setup, recheck the vehicle and trailer measurements. Then evaluate the combination under controlled towing conditions. Record the load, link setting, and observed movement so you can distinguish a weight-transfer change from a sway-control issue.
- Respond to persistent sway systematically. Don’t keep increasing spring-bar tension when side-to-side motion continues. Stop making adjustments, review the hitch instructions, and examine loading, capacity, connections, and sway-control setup. The key takeaway is simple: correct weight distribution supports a balanced connection, while sway control must be selected and operated according to its own design.
ProPride: ProPride 3P Hitch
The ProPride 3P Hitch offers a different approach when trailer sway remains a central concern after careful hitch setup. Its patented Pivot Point Projection technology is designed to eliminate trailer sway by changing how the towing connection behaves, rather than relying only on spring-bar tension. Weight distribution still matters: load the vehicle and trailer responsibly, follow the hitch instructions, and stay within their rated capacities.
If you’re weighing sway-control designs, explore the ProPride 3P Hitch system and consider how its engineering fits your towing setup. Visit the ProPride 3P Hitch page to learn more.
Build a Repeatable Towing Routine
Make towing preparation routine rather than a last-minute task. Keep a brief record of your setup and note changes to your vehicle, trailer, or travel load. Before each trip, review the record to identify what has changed and decide whether your usual setup still fits. This habit puts The Responsible Towing Standard into practice through preparation and informed decisions.
Knowing how to properly tension weight distribution bars gives you a useful foundation, but the right approach also depends on the hitch design and the towing combination. If sway control remains a key concern, consider which engineering approach best suits your priorities. The ProPride 3P Hitch uses patented Pivot Point Projection technology.
For questions about your towing setup, contact ProPride. Keep building your knowledge, make deliberate choices, and approach each trip with confidence.
Frequently Asked Questions
How do you set up and tension weight distribution bars step by step?
Follow the hitch maker’s sequence, then use the first tow as a controlled setup check. Before leaving, confirm that fasteners meet the manual’s torque values, and record the load and adjustments. During the test drive, pay attention to steering response and trailer tracking. If you adjust anything, repeat the drive and compare the result. This measured approach is more useful than changing several settings at once.
How do you measure trailer and tow vehicle height before and after tensioning?
Keep measurements consistent: use the same level surface, tape measure, and reference points on the vehicle each time. Don’t compare a wheel-well reading from one check with a bumper reading from another, because the points can move differently. Record the trailer’s coupler height separately from the vehicle measurements. A simple written log helps distinguish a real setup change from a different measuring position.
How many chain links or how much adjustment should you use?
The correct link position depends on the hitch design and loaded setup, so don’t copy another owner’s setting. As a general guide, engaging the chain with fewer free links usually increases spring-bar tension, while leaving more free links reduces it. Make changes only within positions permitted by the hitch maker. Record the starting link position and adjust one setting at a time to identify which change affected the ride.
How tight should weight distribution bars be, and what are signs of over-tensioning?
There’s no single hand-feel or force that defines correct tension across all hitch models. Use the adjustment method specified by the hitch maker, and distinguish bar capacity from tension: capacity is the bar’s rating, while tension is its working load in your setup. Watch for changes in vehicle handling or unusual movement. If behavior worsens after an adjustment, stop and reassess the setting before continuing.